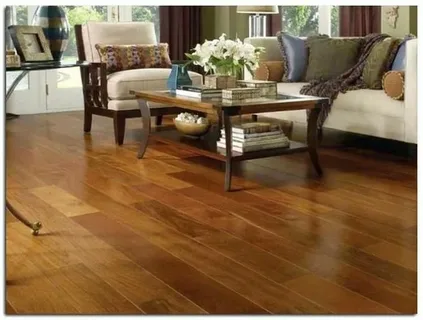
Laminate flooring is an increasingly popular choice among New Zealand homeowners due to its affordability, durability, and ease of installation. If you’re considering giving your home a fresh, modern look without the high cost of professional installation, then DIY laminate flooring nz installation might be the perfect project for you. To help you get started, here are some essential DIY laminate flooring installation tips for NZ homeowners to ensure your flooring looks professional and lasts for years.
Why Choose Laminate Flooring in New Zealand?
Laminate flooring combines the aesthetic appeal of natural wood or stone with the benefits of easy maintenance and resilience against scratches and moisture. This makes it ideal for NZ homes, which often face variable weather conditions and humidity. Plus, laminate flooring is budget-friendly and available in a wide range of styles and finishes, suiting every interior design taste.
Preparing for Your DIY Laminate Flooring Installation
Before starting your project, preparation is key. Here are some important steps to take before laying down your laminate flooring:
- Acclimatise Your Flooring: New Zealand’s climate varies, and laminate planks should acclimatise to your home environment for at least 48 hours before installation. This helps prevent warping or gaps after installation.
- Clean and Level the Subfloor: Ensure your subfloor is clean, dry, and level. Uneven surfaces can cause problems with the locking system of laminate flooring.
- Gather the Right Tools: Essential tools include a tape measure, spacers, tapping block, pull bar, saw (for cutting planks), and safety gear like gloves and goggles.
Key DIY Laminate Flooring Installation Tips for NZ Homeowners
Here are some practical tips to help your DIY laminate flooring installation go smoothly:
1. Start from the Longest Wall
Begin installing the laminate planks along the longest wall in the room. This helps create a more visually appealing layout and ensures that the flooring runs parallel to the main light source, enhancing the room’s appearance.
2. Leave Expansion Gaps
New Zealand’s humidity levels can cause flooring to expand and contract. Always leave a small expansion gap (usually around 10mm) between the flooring and the walls. Use spacers during installation to maintain this gap, and cover it later with skirting boards or trims.
3. Use the Right Underlay
Selecting the right underlay is crucial, especially for NZ homes where moisture control is important. Choose an underlay that provides moisture protection, sound insulation, and cushioning for added comfort.
4. Take Your Time with Cutting and Fitting
Cut laminate planks carefully to fit around doorways, corners, and other obstacles. Measure twice, cut once to avoid wasting materials. Use appropriate tools and safety precautions to ensure clean, accurate cuts.
Finishing Touches and Maintenance
Once your DIY laminate flooring installation is complete, install the baseboards and transition strips to cover the expansion gaps and give your floor a polished look. Regular cleaning with a damp mop and avoiding excessive water will help maintain the flooring’s appearance and durability.
By following these DIY laminate flooring installation tips for NZ homeowners, you can achieve a beautiful and lasting floor that enhances your home’s value and style. With careful planning and a bit of patience, your flooring project can be both rewarding and cost-effective.

